Don’t hesitate to contact us:
Forum: discuss.graphhopper.com
Email: support@graphhopper.com
In this blog post we’ll describe how custom profiles can be used and include real world examples.
You can try the examples on GraphHopper Maps. Please note that currently only for car, small_truck, scooter, bike and foot the custom routing support is deployed. To customize a request you click on the “custom” icon. When editing the custom model try out Ctrl+Space for auto complete e.g. inside an if-statement. The basic structure of a custom profile is described in this documentation.
Let’s start with a simple example from the previous post – it shows how to avoid primary roads:
{
 "priority": [{
   "if": "road_class == PRIMARY",
   "multiply_by": "0.1"
 }]
}
Other possibilities are for example to avoid roads with higher speed signs and prefer official bike network:
{
 "priority": [{
   "if": "max_speed >= 50",
   "multiply_by": "0.1"
 }, {
   "if": "bike_network == MISSING",
   "multiply_by": "0.9"
 }]
}
Avoid tunnels:
{
 "priority": [{
   "if": "road_environment == TUNNEL",
   "multiply_by": "0.01"
 }]
}
Ride slower through e.g. pedestrian or footway. Here 5 minutes instead of 4:
{
 "speed": [{
   "if": "road_class == PEDESTRIAN",
   "multiply_by": "0.7"
 }]
}
The normal bike profile allows routing over steps in cases where otherwise a long detour is made. But a bike used for deliveries or children cannot be carried and should never be routed over this and so you can exclude it with the road_class encoded value:
{
 "priority": [{
   "if": "road_class == STEPS",
   "multiply_by": "0"
 }]
}
Further exclusions like ‘too narrow roads’ are possible which is important for e.g. cargo bikes:
{
 "priority": [{
   "if": "max_width < 1.5",
   "multiply_by": "0"
 }, {
   "if": "road_class == PRIMARY",
   "multiply_by": "0.1"
 }]
}
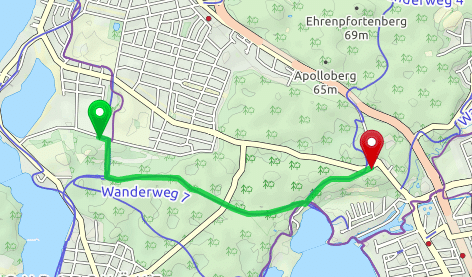
Increase preference of the official hiking network and accept greater detours. As you can see in the custom profile all roads marked with “foot_network=other” are avoided and so e.g. “foot_network=regional” is used.
{
 "priority": [{
   "if": "foot_network == MISSING",
   "multiply_by": "0.5"
 }]
}
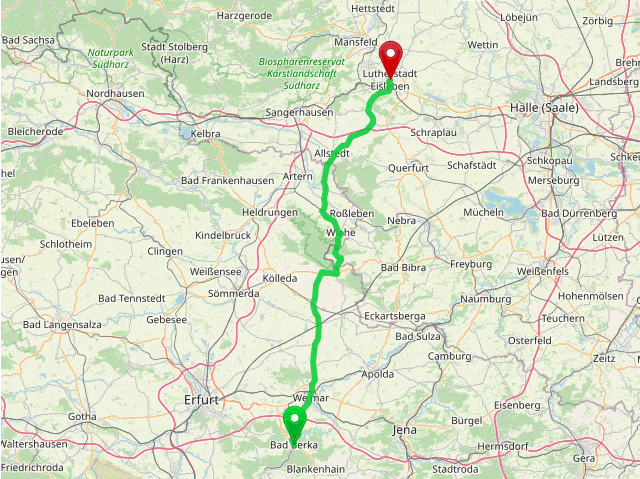
There are many ways to save fuel. One is to drive slower and another is to prefer shorter routes. See how the custom profiles can look:
{
 "speed": [{
   "if": "true",
   "limit_to": "110"
 }],
 "priority": [{
   "if": "road_class == MOTORWAY || road_class == SECONDARY",
   "multiply_by": "0.4"
 }]
}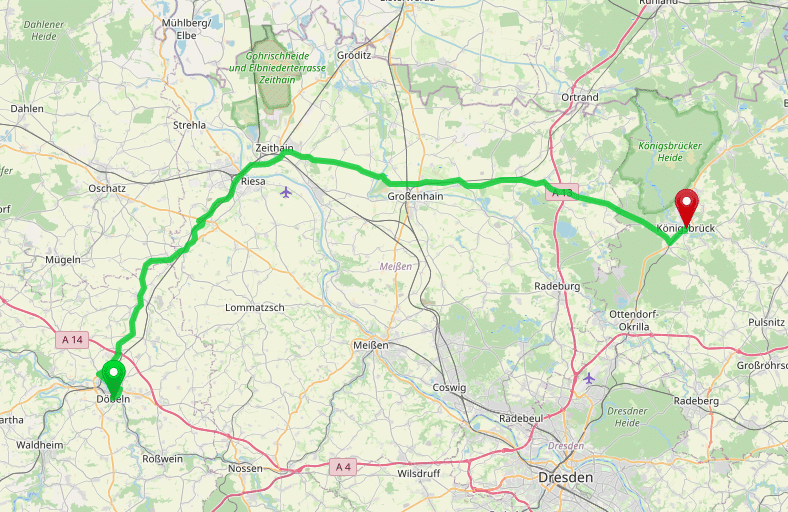
Prefer shorter routes. Here the faster motorway is avoided. To do that you increase the distance_influence:
{
 "distance_influence": 200
}
The distance_influence is independent of the road properties and does not influence the ETA. The default is 70 in seconds per 1km. Let’s assume a route that takes 1000sec and is 10km long, then a value of 30 means that I would like to drive maximum 11km to reduce the travel time to 970sec, or drive max 12km to reduce it to 940sec.
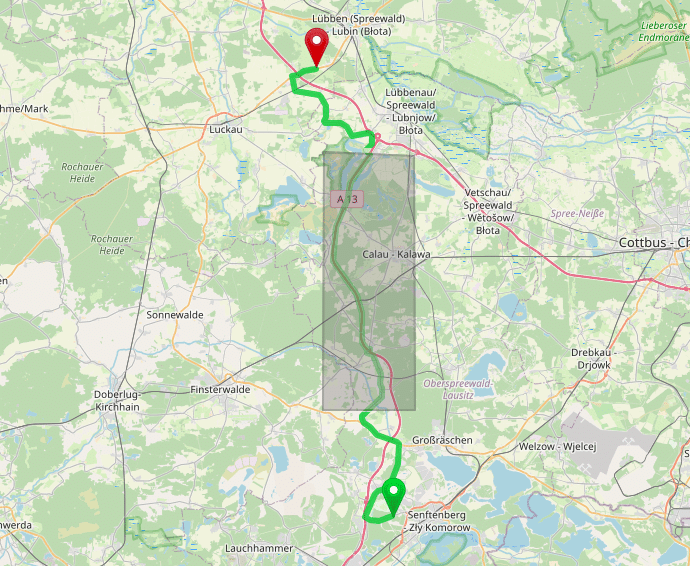
Now to the area feature:
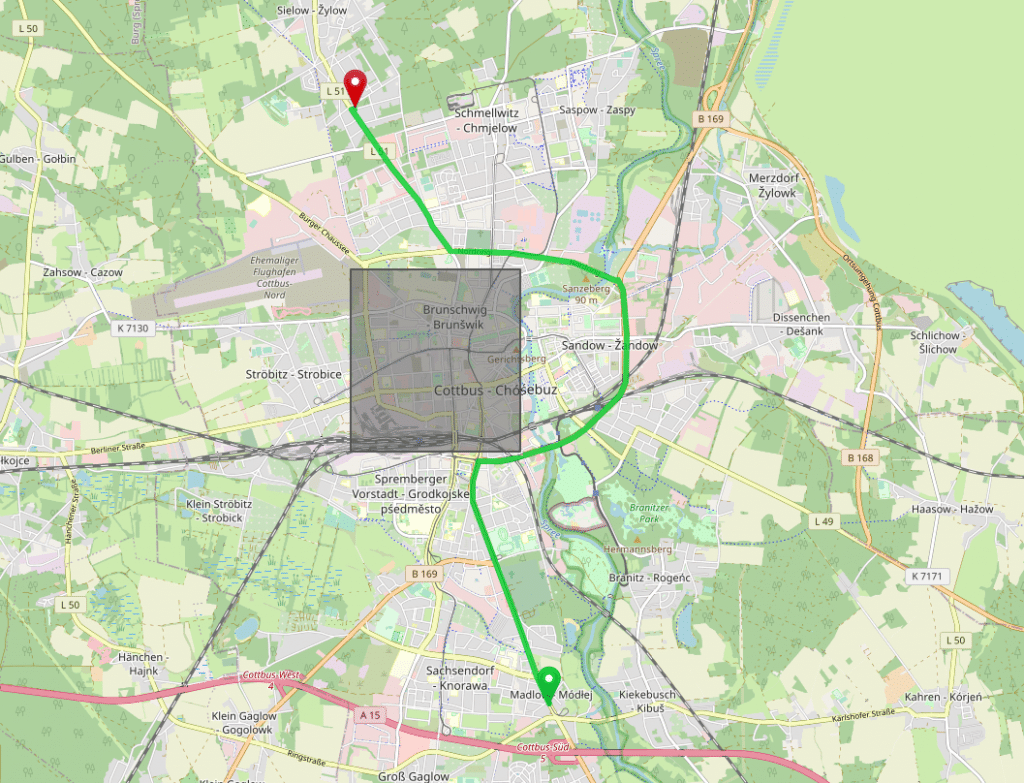
Click on the image to calculate the route and paste the following profile:
{
 "priority": [{
   "if": "in_cottbus",
   "multiply_by": "0"
 }],
 "areas": {
   "cottbus": {
    "type": "Feature",
    "properties": {},
    "geometry": {
      "type": "Polygon",
      "coordinates": [[
       [ 14.31, 51.75 ],
       [ 14.34, 51.75 ],
       [ 14.34, 51.77 ],
       [ 14.31, 51.77 ],
       [ 14.31, 51.75 ]
      ]]
    }
   }
 }
}
A powerful concept is to combine areas with arbitrary other conditions. E.g. you can prefer or avoid certain roads only in or outside of an area. The following example avoids the motorway only outside of the specified area:
{
 "priority": [{
   "if": "road_class == MOTORWAY && in_near_calau == false",
   "multiply_by": "0"
 }],
 "areas": {
  "near_calau": {
    "type": "Feature",
    "properties": {},
    "geometry": {
      "type": "Polygon",
      "coordinates": [[
        [ 13.84826, 51.6137 ],
        [ 13.9746, 51.61375 ],
        [ 13.97323, 51.82983 ],
        [ 13.84963, 51.83323 ],
        [ 13.84826, 51.6137 ]
      ]]
    }
   }
 }
}
You can use custom profiles to give the car profile several “truck” attributes. First of all you should reduce the max_speed and the speed and increase the distance_influence like we did for the “economically driving”.
Further changes can be done like avoiding ferries:
{
 "priority": [{
   "if": "road_environment == FERRY",
   "multiply_by": "0.1"
 }, {
   "else_if": "road_class == RESIDENTIAL || road_class == TERTIARY",
   "multiply_by": "0.3"
 }, {
   "else_if": "road_class == TRACK",
   "multiply_by": "0"
 }]
}
Now to the typical truck use cases like avoid toll, width or height limitations:
{
 "priority": [{
   "if": "toll == ALL || toll == HGV",
   "multiply_by": "0.1"
 }]
}
Consider more truck properties:
{
 "priority": [{
   "if": "hazmat == NO || hazmat_water == NO",
   "multiply_by": "0"
 }, {
   "if": "hazmat_tunnel == D || hazmat_tunnel == E",
   "multiply_by": "0"
 }, {
   "if": "max_width < 3 || max_weight < 3.5 || max_height < 4",
   "multiply_by": "0"
 }]
}
As already mentioned this feature will strongly benefit from your feedback. So do not hesitate to share your experience, custom profiles or problems you are running into!
Happy custom routing!
