Don’t hesitate to contact us:
Forum: discuss.graphhopper.com
Email: support@graphhopper.com
In our previous post we introduced the GraphHopper Navigation SDK. Today we’ll show the detailed steps on how to customize our GraphHopper Navigation demo app that uses the GraphHopper Navigation SDK.
For Android development you need to install Android studio:
To open the demo project click “check out from Version Control” and select git:
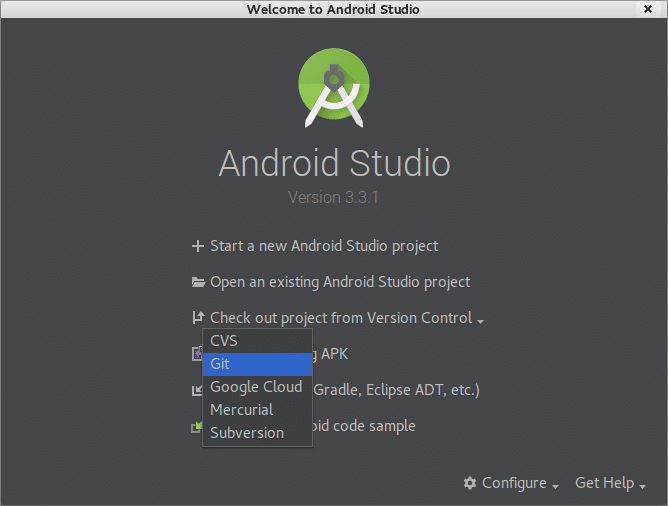
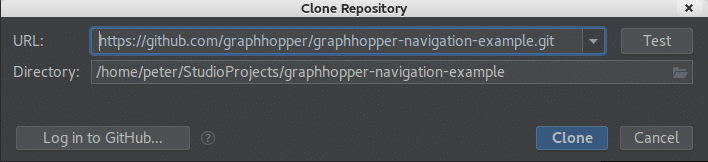
Use the URL
https://github.com/graphhopper/graphhopper-navigation-example.git
to clone the project:
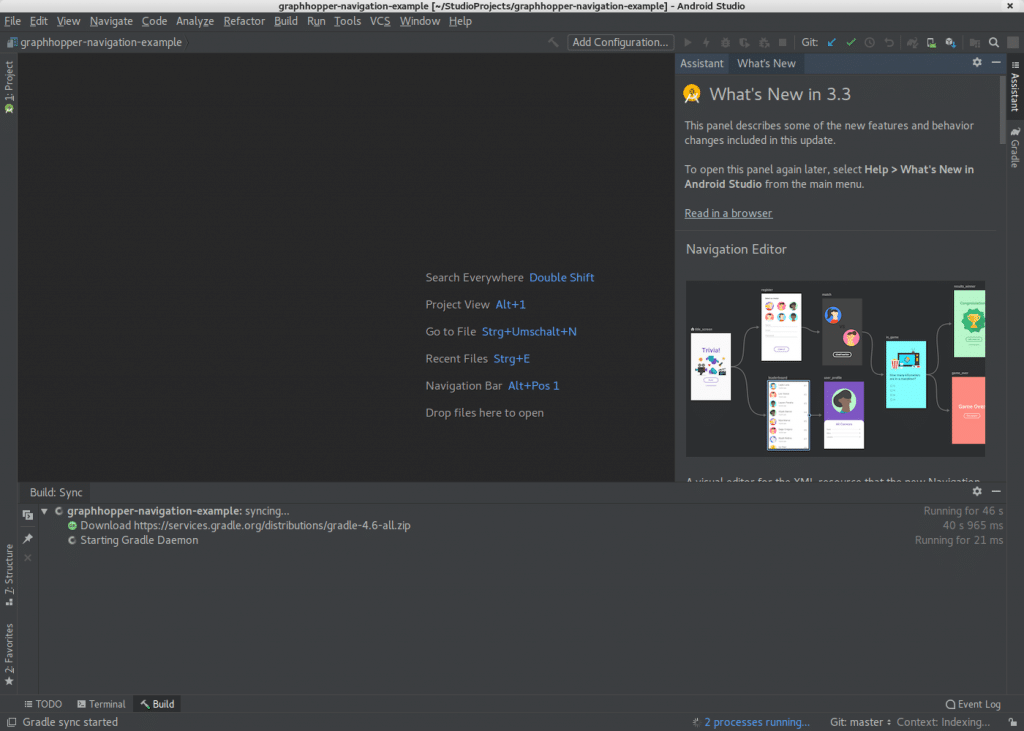
Click “yes” to open the cloned Gradle project and then “ok” with the default settings. Android Studio now downloads Gradle automatically in the background:
After a few seconds it should be possible to browse through the source code in the “Project” tab:
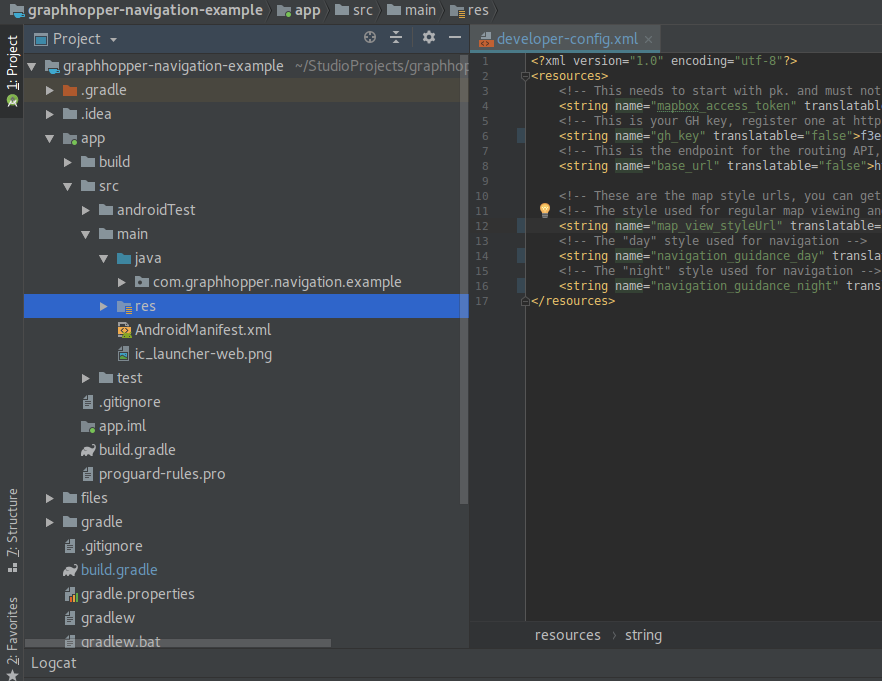
Find the file app/src/main/res/values/developer-config.xml and replace the [GH_API_KEY] with the API key from the GraphHopper Directions API and the keys for the tile style [MAP_API_KEY] with the API key from mapilion (and if you change the tile URLs you can use any vector tile provider).
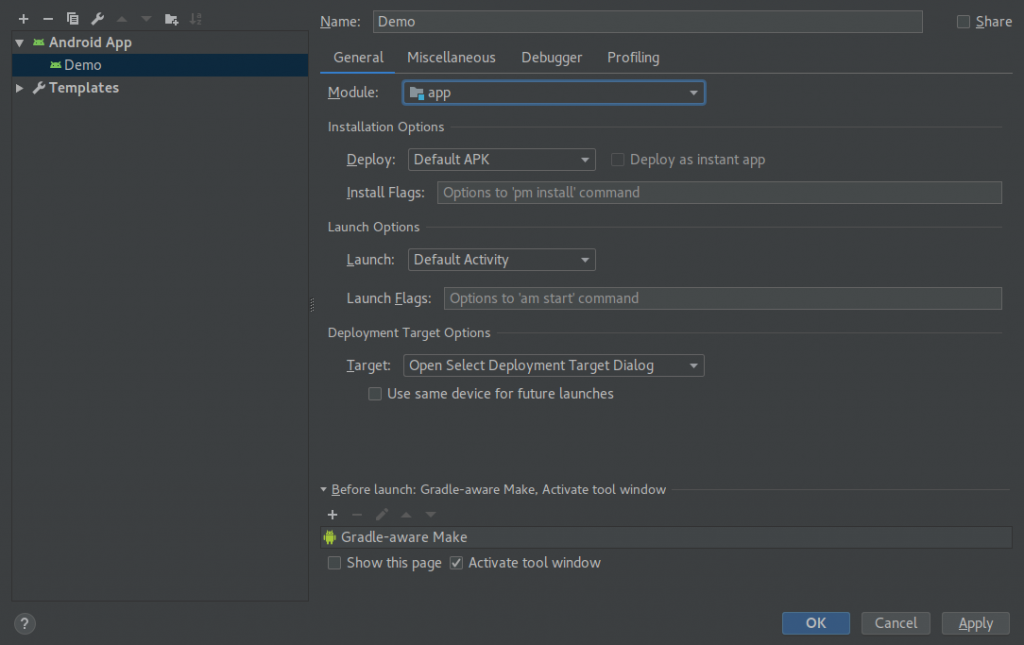
Now click on “Add Configuration”. Find and click the plus sign (“+”) and select “Android app”. Name it “Demo” and select “app” as Module, then click “OK”:
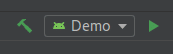
Click on the triangle to start it.
If you do not have an Android device connected you then create the “nexus 9” virtual device. In this process you have to download an image (0.9GB) like “Pie” before you can continue. In our experience we were able to start the app but it did strange things in the emulator so we recommend a real device instead.
To use your real device you have to enable the developer options and enable USB debugging. The latter one is device dependent and you have to look around in the web to find how to do this.
On Linux there can be a problem that you do not have access from within the IDE to the device, which is easy to fix. See some of the problems documented here.
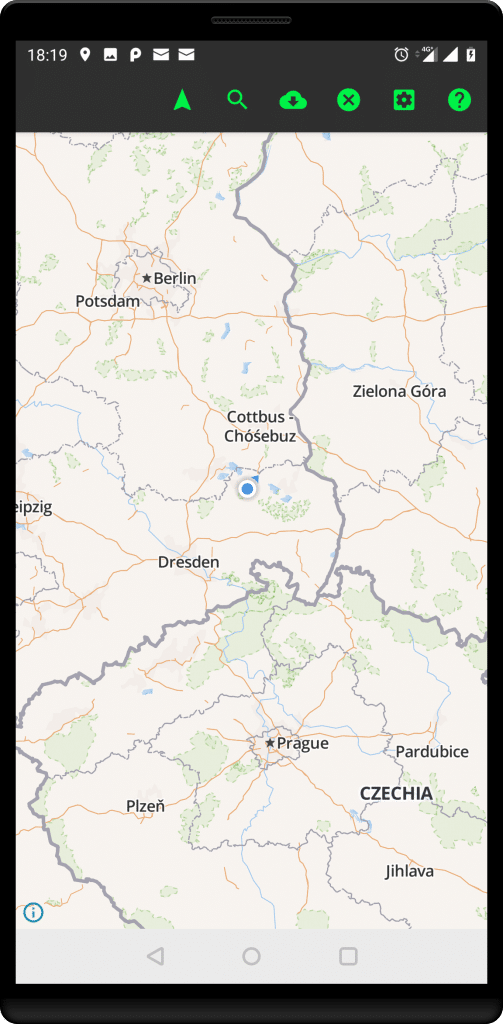
Before you can use the demo you have to enable your GPS location and allow the GraphHopper Navigation demo app to access this location information. If this was successful you should see a map with a circle highlighting your current location:
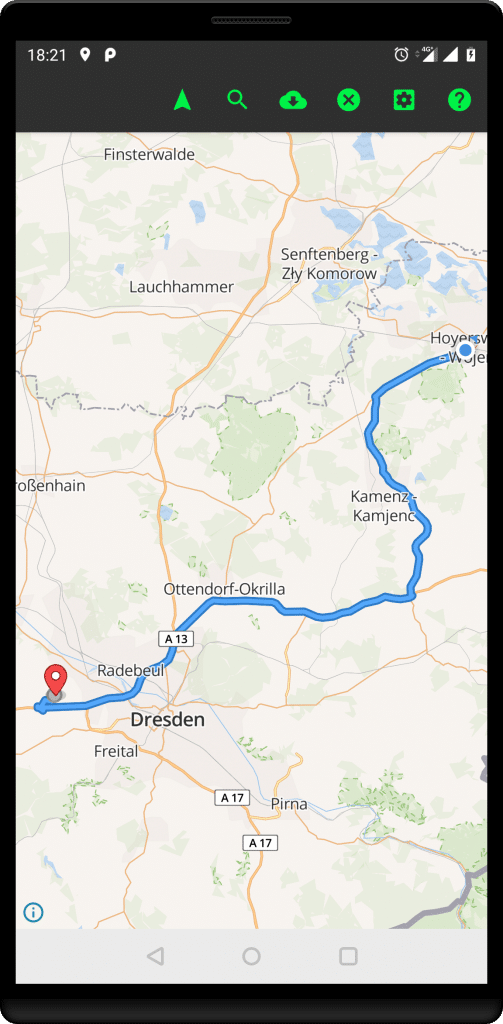
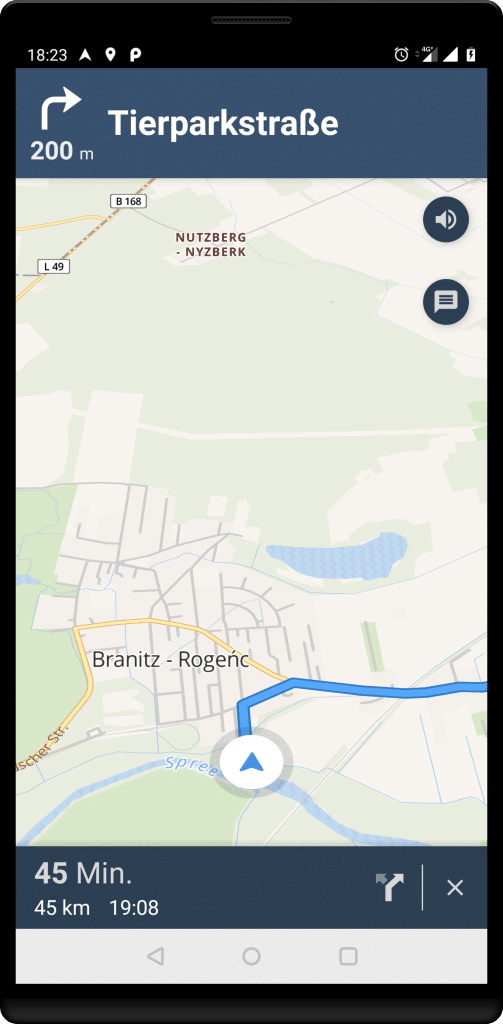
Long press somewhere on the map or search a location with the magnifier icon. It should then print a route:
Click the arrow to start the navigation:
It is easy to debug the navigation demo as you can go to the settings (gear wheel icon) and click “simulate route” and disable “start route from current location”:
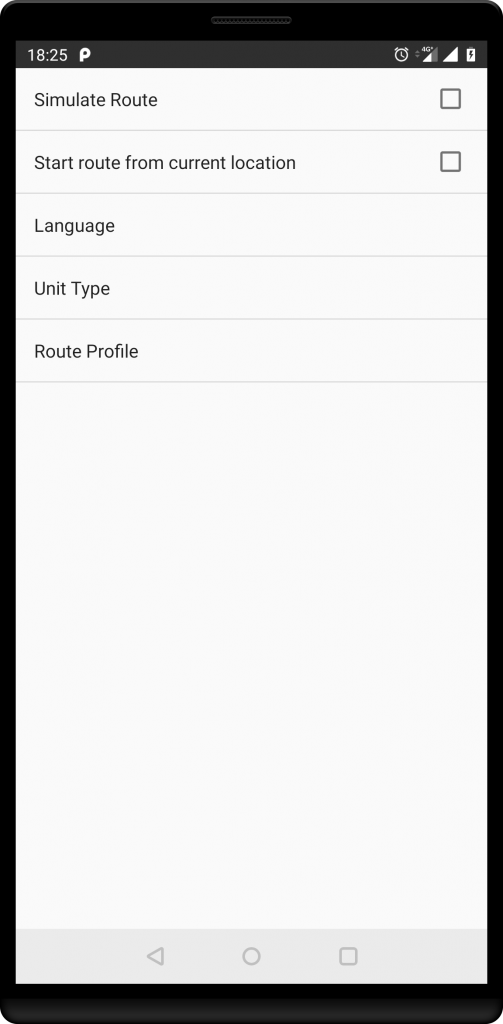
Now you need to long press twice to define a route with any start location, it will then automatically go along the route and simulate the navigation.
Have fun and report any issues with this tutorial here.
