Don’t hesitate to contact us:
Forum: discuss.graphhopper.com
Email: support@graphhopper.com
We are proud to announce that we are gold corporate member of the OpenStreetMap Foundation! Do not hesitate and follow our example to support a valuable project.
During the last months we have been constantly working on our services and released a new feature for our Route Optimization API: job groups. With job groups you can easily specify that jobs need be served successively, and it lets you specify priorities within a route. Furthermore, we simplified the way you can model multiple vehicle profiles in one optimization request and use even different road network data.
As a critical update the ETAs were improved to better match conditions in rural areas.
Additionally, we invite you to try the new GraphHopper Navigation SDK.
The Navigation SDK can be used in an alpha phase. This is really just a starting point and the software can have a few rough edges. But it is already used for real vehicle navigation e.g. in cars and on bikes. We will consider leaving this in our product portfolio if there is sufficient demand in the next 6 months.
You can get such news even faster in our forum.
We appreciate every feedback and wish you happy routing!
In our previous post we introduced the GraphHopper Navigation SDK. Today we’ll show the detailed steps on how to customize our GraphHopper Navigation demo app that uses the GraphHopper Navigation SDK.
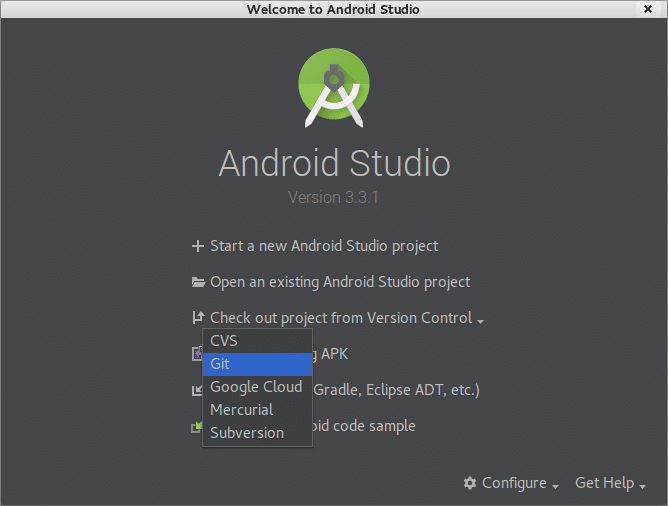
For Android development you need to install Android studio:
To open the demo project click “check out from Version Control” and select git:
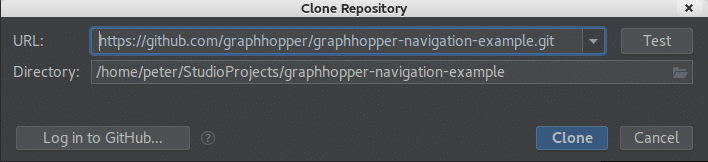
Use the URL
https://github.com/graphhopper/graphhopper-navigation-example.git
to clone the project:
Click “yes” to open the cloned Gradle project and then “ok” with the default settings. Android Studio now downloads Gradle automatically in the background:
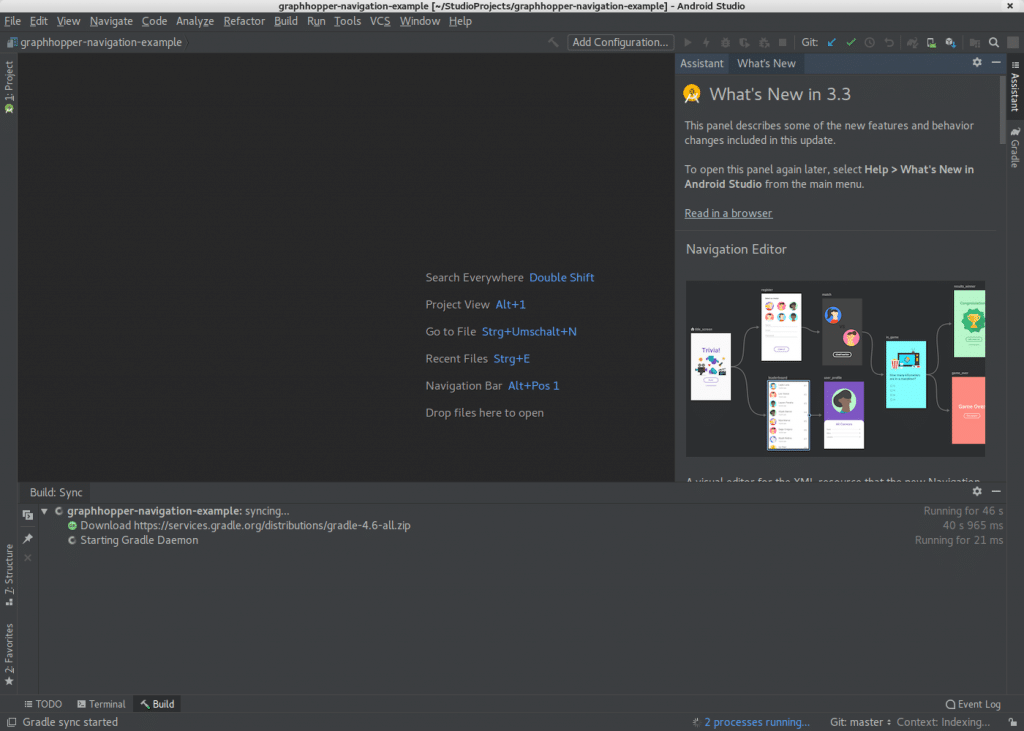
After a few seconds it should be possible to browse through the source code in the “Project” tab:
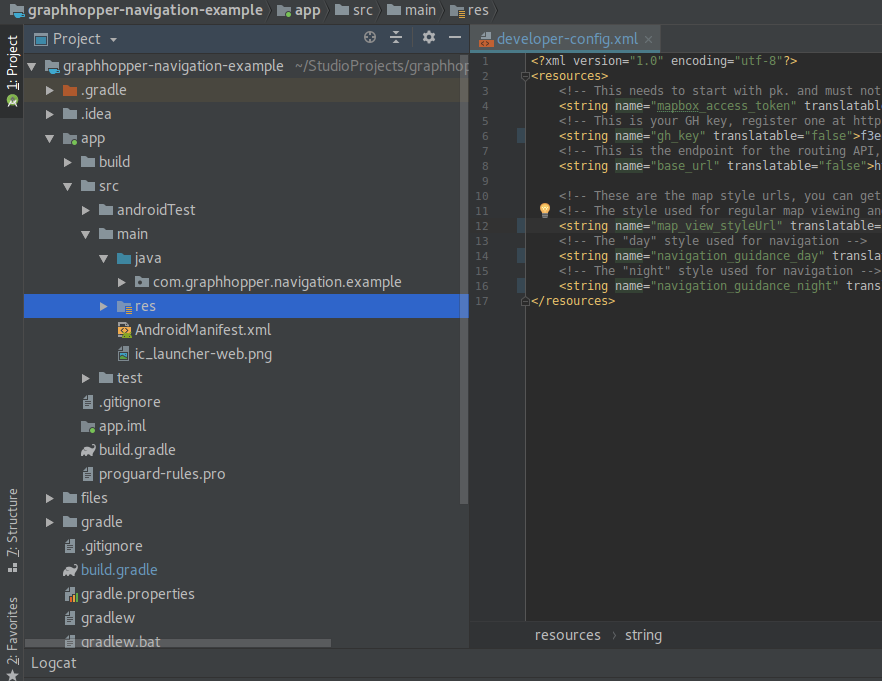
Find the file app/src/main/res/values/developer-config.xml and replace the [GH_API_KEY] with the API key from the GraphHopper Directions API and the keys for the tile style [MAP_API_KEY] with the API key from mapilion (and if you change the tile URLs you can use any vector tile provider).
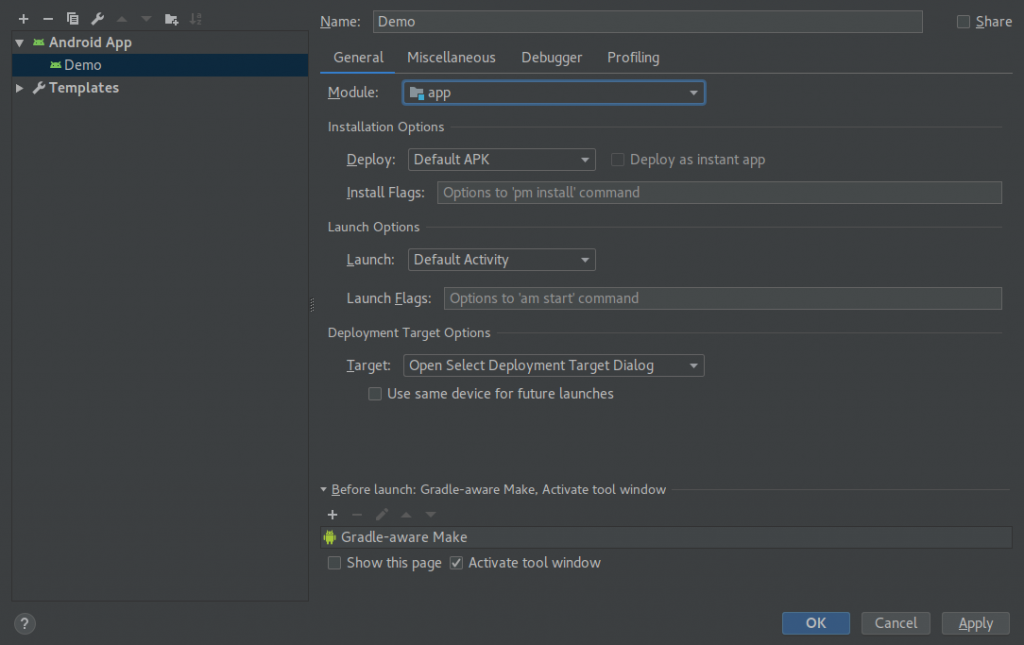
Now click on “Add Configuration”. Find and click the plus sign (“+”) and select “Android app”. Name it “Demo” and select “app” as Module, then click “OK”:
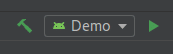
Click on the triangle to start it.
If you do not have an Android device connected you then create the “nexus 9” virtual device. In this process you have to download an image (0.9GB) like “Pie” before you can continue. In our experience we were able to start the app but it did strange things in the emulator so we recommend a real device instead.
To use your real device you have to enable the developer options and enable USB debugging. The latter one is device dependent and you have to look around in the web to find how to do this.
On Linux there can be a problem that you do not have access from within the IDE to the device, which is easy to fix. See some of the problems documented here.
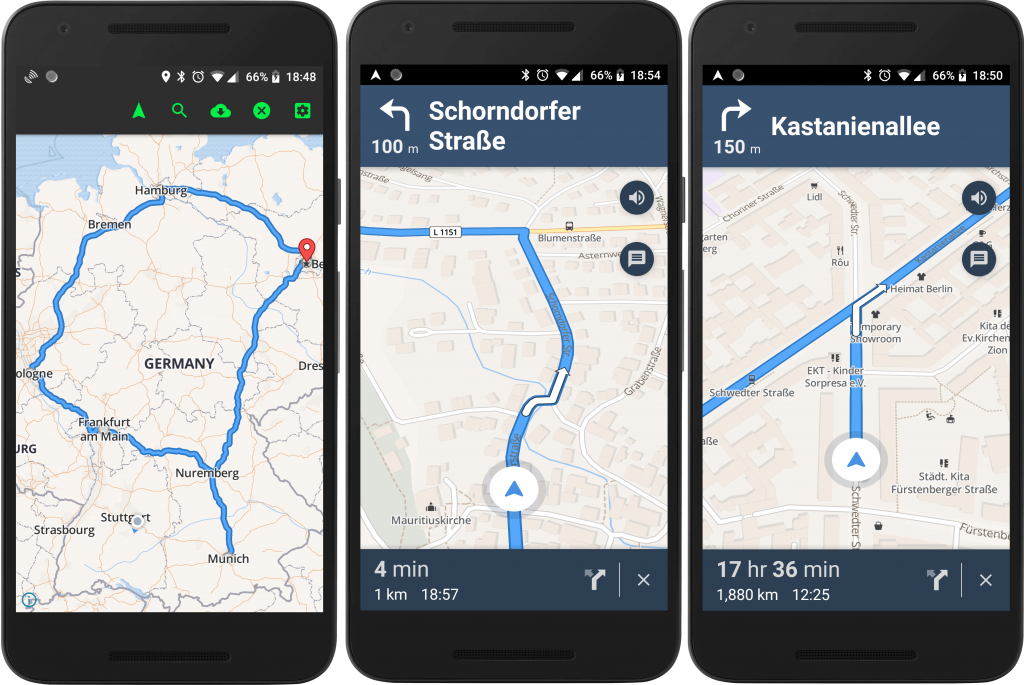
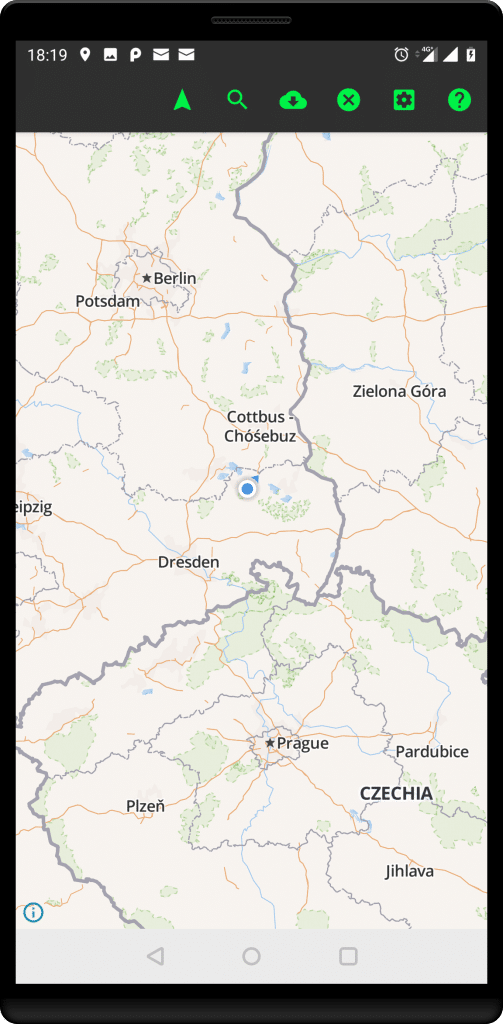
Before you can use the demo you have to enable your GPS location and allow the GraphHopper Navigation demo app to access this location information. If this was successful you should see a map with a circle highlighting your current location:
Long press somewhere on the map or search a location with the magnifier icon. It should then print a route:
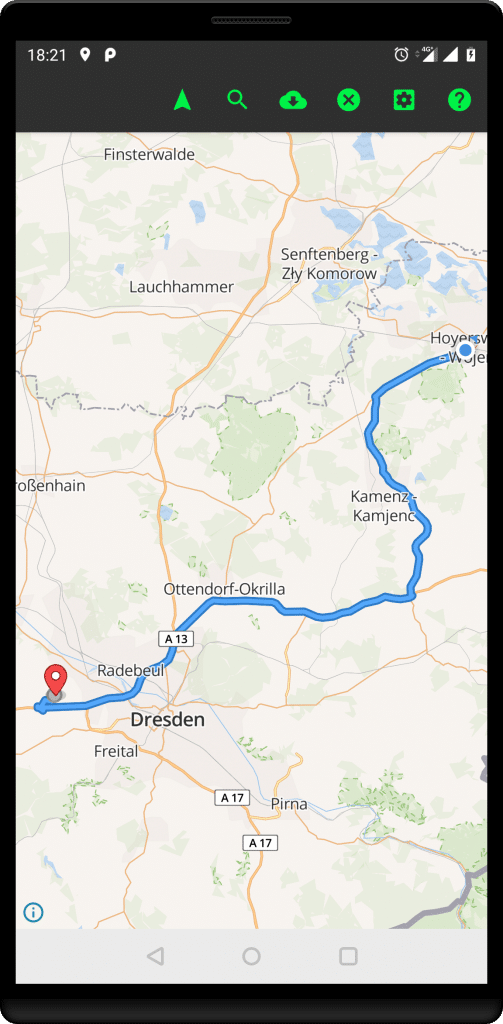
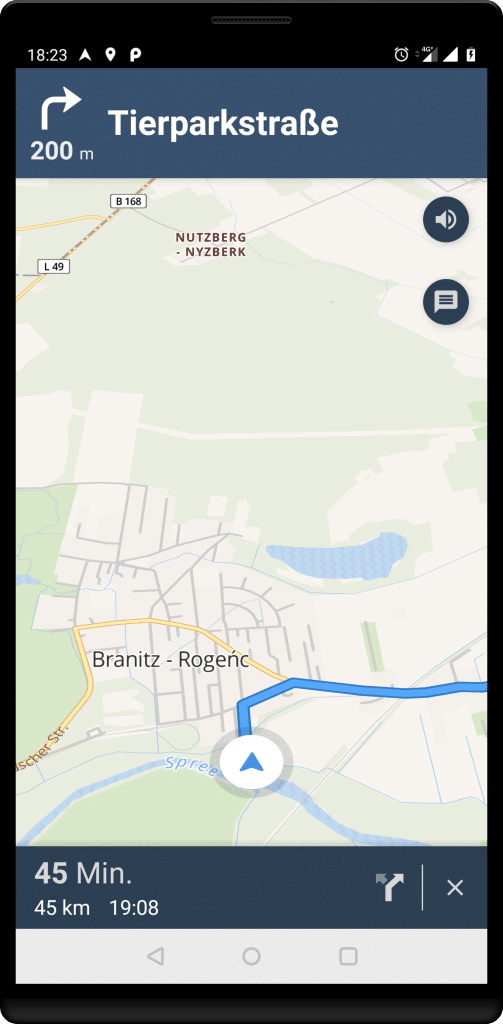
Click the arrow to start the navigation:
It is easy to debug the navigation demo as you can go to the settings (gear wheel icon) and click “simulate route” and disable “start route from current location”:
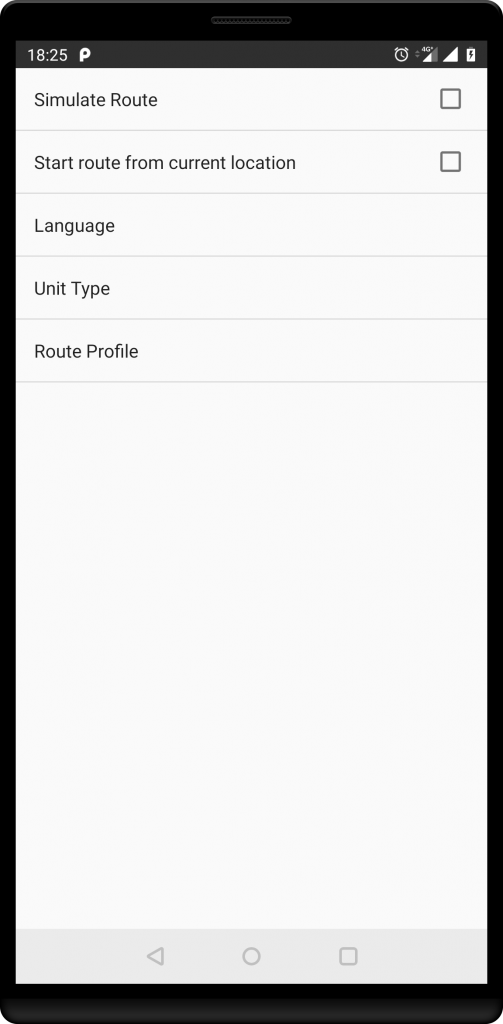
Now you need to long press twice to define a route with any start location, it will then automatically go along the route and simulate the navigation.
Have fun and report any issues with this tutorial here.
At GraphHopper we regularly receive requests on how to build a navigation app with the GraphHopper Directions API.
At the moment our customers either have no turn-by-turn navigation or rely on third party apps like Google Maps or devices from TomTom. The biggest disadvantage in this case is the mismatch of estimated time of arrival (ETA) and chosen routes of these systems and our Route Optimization API, especially for non-car vehicle profiles like bike or truck.
Additionally to the above alternatives the GraphHopper Directions API has been used in mobile apps for a long time now e.g. in Kurviger and Locus. But it was required to build the navigation part yourself, which can be quite challenging.
We can solve both problems with our new open source Android Navigation SDK that easily integrates with the GraphHopper Directions API. To see this SDK in action we created a sample application that you can extend to build your own applications. To try it out and install the sample app from Google Play or build it yourself from source.
The core features of the SDK are all the basic features you would expect from a navigation app:
It is possible to integrate navigation in your application without forcing users to leave the app. The integration between navigation and the required business logic can be much closer. You can see that in our example app, where it is possible to:
The GraphHopper Navigation SDK provides powerful features for you if you are interested in building your own app that requires turn-by-turn navigation. Like an app for fleet management or to organize deliveries. You can write your own application from the ground up or rebrand and extend our demo application to your needs.
The navigation feature consists of two parts, the server side and the client side (Android). The great thing is that both parts are open source, but you don’t have to worry about the server side as we provide this for you with the GraphHopper Directions API.
The client side of the navigation part consists of the Navigation SDK and the example app. The SDK is a fork of the Mapbox Navigation SDK. Unfortunately Mapbox decided to add a closed source library with a proprietary license to their Navigation SDK. Therefore, we had to fork the Mapbox SDK to provide a fully open source library with no licensing issues.
If you would like to get started, just sign up for the GraphHopper Directions API and read through this tutorial. Let us know if you are interested in trying to use the new navigation endpoint – we are happy to help. The easiest way to get started is to clone our demo app, and insert your keys in the developer config. Read more about the details in our documentation.
